When do I plant bulbs that will bloom in the spring?
Fall is the time for back-to-school, changing leaves, and pumpkin spice everything. It’s also the time to plant bulbs — the bulbs you want to flower in the spring. This includes everything from tulips, daffodils, crocus and hyacinths to grape hyacinths, iris and snowdrops.
Why now? Simple. The cooler weather allows spring-blooming bulbs to “winter over” — meaning that while you won’t see any growth above the ground, the bulbs are doing what they need to do beneath the surface of the soil, and they need the exposure to cold to experience a life cycle that promotes healthy foliage and flowers come spring.
Five easy tips for planting bulbs
- Start by reading the label. Make sure to keep the bulbs and their label together. It’s the only way you can tell the orange tulips from the pink tulips if that’s important to you. Otherwise, they just look like bulbs.
- Select your location. Bulbs are versatile and go pretty much anywhere in your garden that has good drainage. The Dutch have a saying: “Bulbs don’t like wet feet.” So take that to heart and avoid areas where water collects. Bulbs prefer sun so plan accordingly. In the spring, the trees overhead won’t have their leaves yet, so that means more sunny spots for bulbs.
- Prepare the soil. If you’re planning to plant bulbs in an area that’s not an established garden bed, mix in some compost first. Loosen the soil in the bed to a depth of 8” to 10” and remove any rocks, weeds or other debris you encounter. If your soil lacks nutrients, mix in compost, other organic matter or slow-releasing fertilizer. And if you’re using an existing garden bed, just turn over the soil so it’s loose and workable.
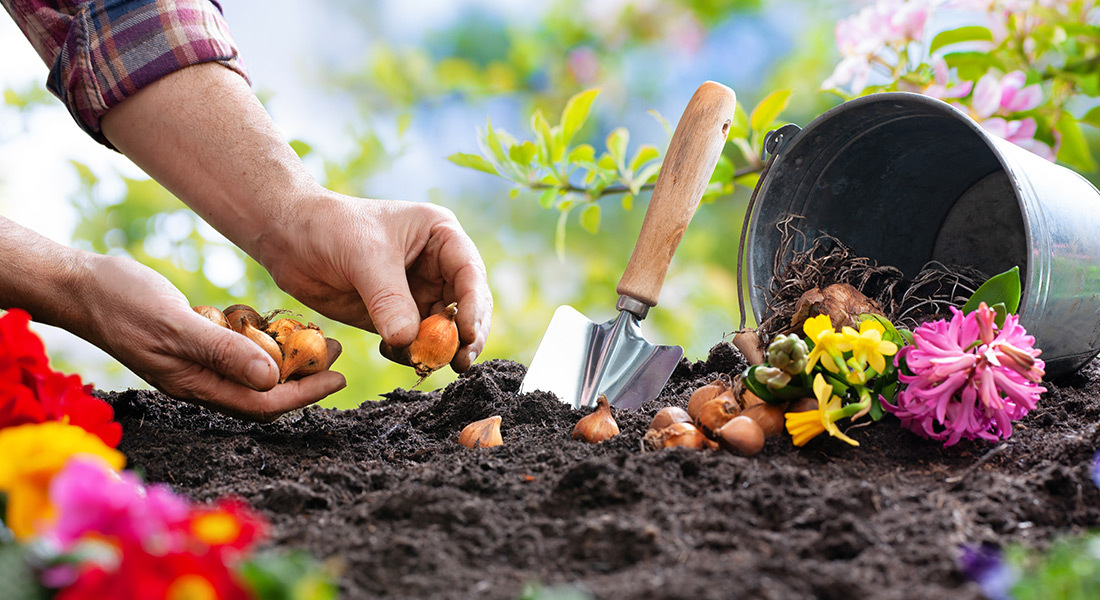
- Get planting. Different bulbs require different planting depths. How will you know how deep to plant the bulbs you buy? You guessed it — those labels you kept from #1 above. As a general rule of thumb, plant larger bulbs about 8” deep and plant smaller bulbs about 5” deep. Using a hand trowel, dig a hole to the correct depth, then set the bulb in the hole — pointy side up and roots facing down. If you can’t figure out the top from the bottom (it’s not always clear), plant the bulb on its side. In most cases, even if you don’t get the placement quite right, the flower will still find a way to break ground and bloom.
- Fill the hole and break out the water. Once the bulbs are planted, use the soil you dug up to fill the hole. Lightly compress the soil, but don’t pack it. Then water once to stimulate root growth and fill in any air pockets. That’s it.
Unplanted spring bulbs won’t last until the next season. So once you get them, plant them.
Once the warmer spring weather returns, you’ll see a yard full of sprouts... then gorgeous blooms. That’s when you’ll know that spring has sprung!
Share This